
iPhone App Development - Creating Scenes
What is it?
Swift is the current language for creating iPhone applications. It works within Apple's Interactive Development Environment (IDE) XCode. It is a combination of visual and programming interfaces.
Why should I learn it?
The world is mobile. While many content applications can function on phone browsers, there are some applications, like games, social media and ecommerce, that need native functionality.
What can I do with it?
You can create the visual interface as well as add code to represent functionality of your application using Swift and XCode. Then you can test and upload to Apple's App Store.
How long will it take?
Learning application development is a different and bit more difficult than creating websites. These tutorials will take several weeks to go through to explain the basic functionality available for application development. But with time and practice, you can master the skills necessary to create functional applications. Beyond iPhone development, there is native Android development and cross-platform options like React Native to consider.
Creating Scenes
So far, we have created applications that use one scene. But in many cases, applications have multiple scenes. We will create a simple app that goes between scenes of different colors using buttons.
Start with a new XCode Project (File, New, Project, Single View App, make sure you choose Language: Swift & User Interface: Storyboard) and call it Colors. Select the Storyboard from the Project Navigator. If you need to, hide any extra sections to give you room to work in the Storyboard.
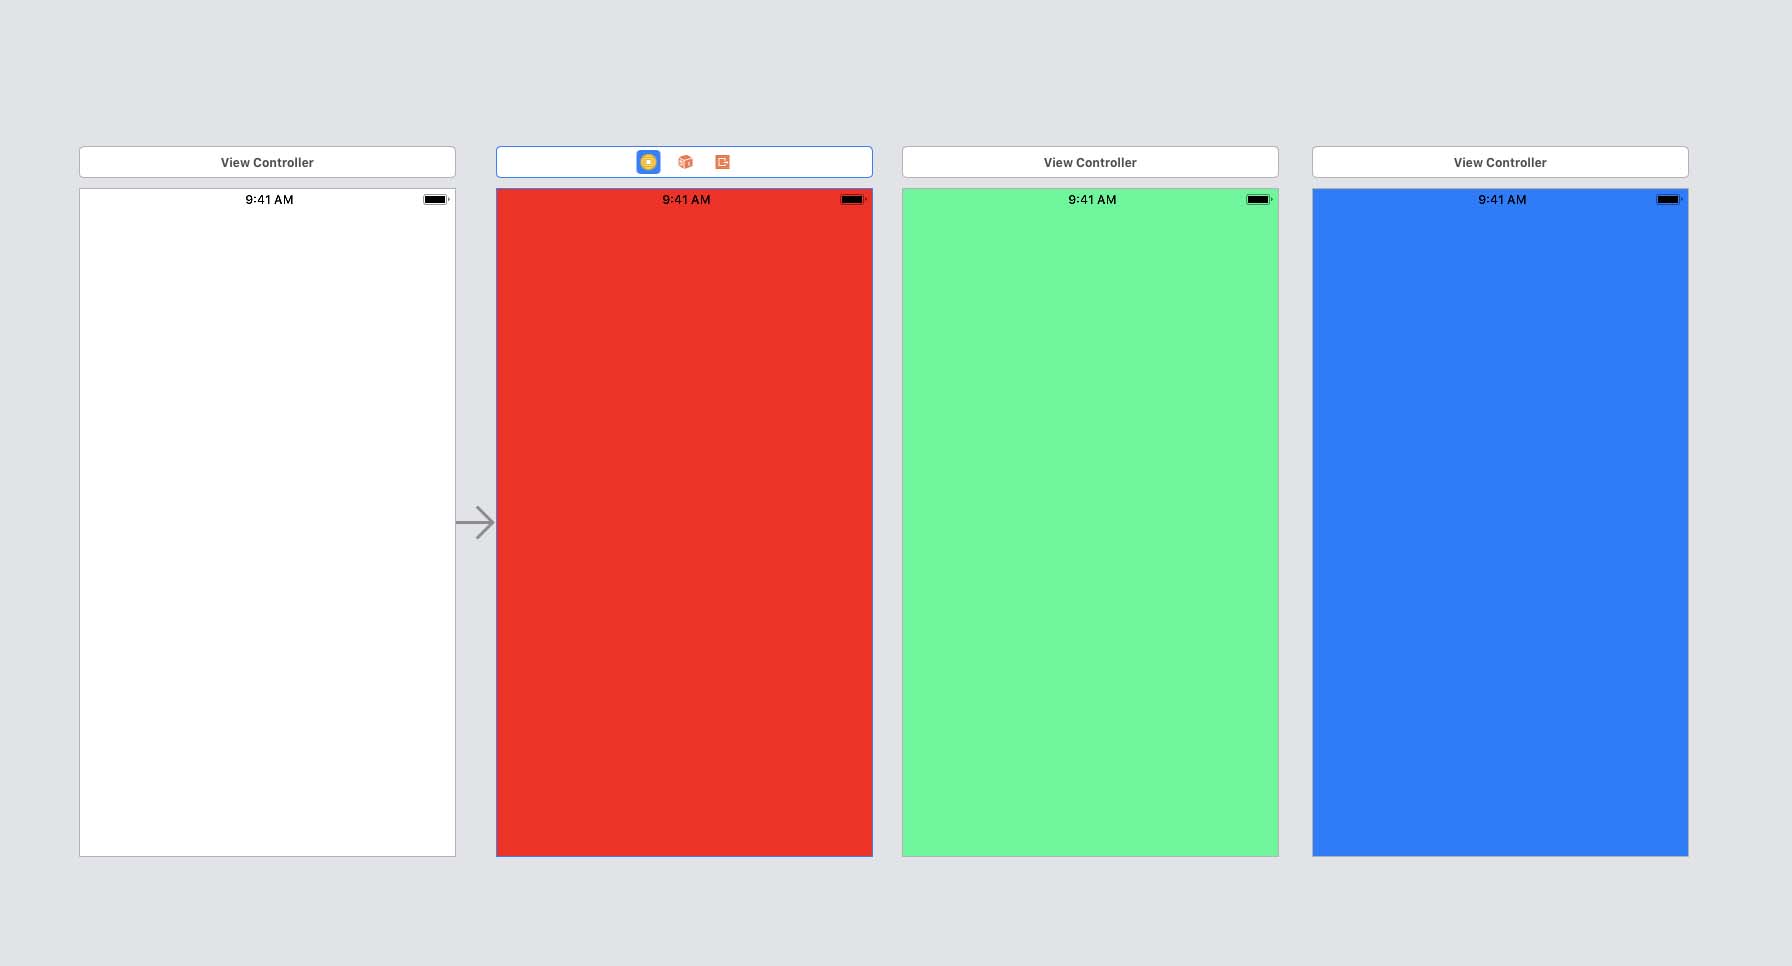
First, we are going to create new View Controllers, one for each color. Search for a View Controller in the Library and drag three to the Storyboard, placing them next to each other in the Storyboard. The bar above each view lets you move each around. The initial Storyboard that came with the project will be used later.
Make the backgrounds for each new scene a different color, like red, green, blue. Find the Background color in the Attributes inspector as you select each storyboard.
Adding Segues
We need to make our Red scene the initial scene for now. If you run the app now, it will start at the original View Controller, which is still white. Click at the top of that scene on the icon that is the View Controller (yellow circle with square in it). In the Inspector under title, check Is Initial View Controller. You can also move the arrow that is pointing to the original View Controller and move it to the Red View Controller. Now when you test the app, it should start in the Red scene.
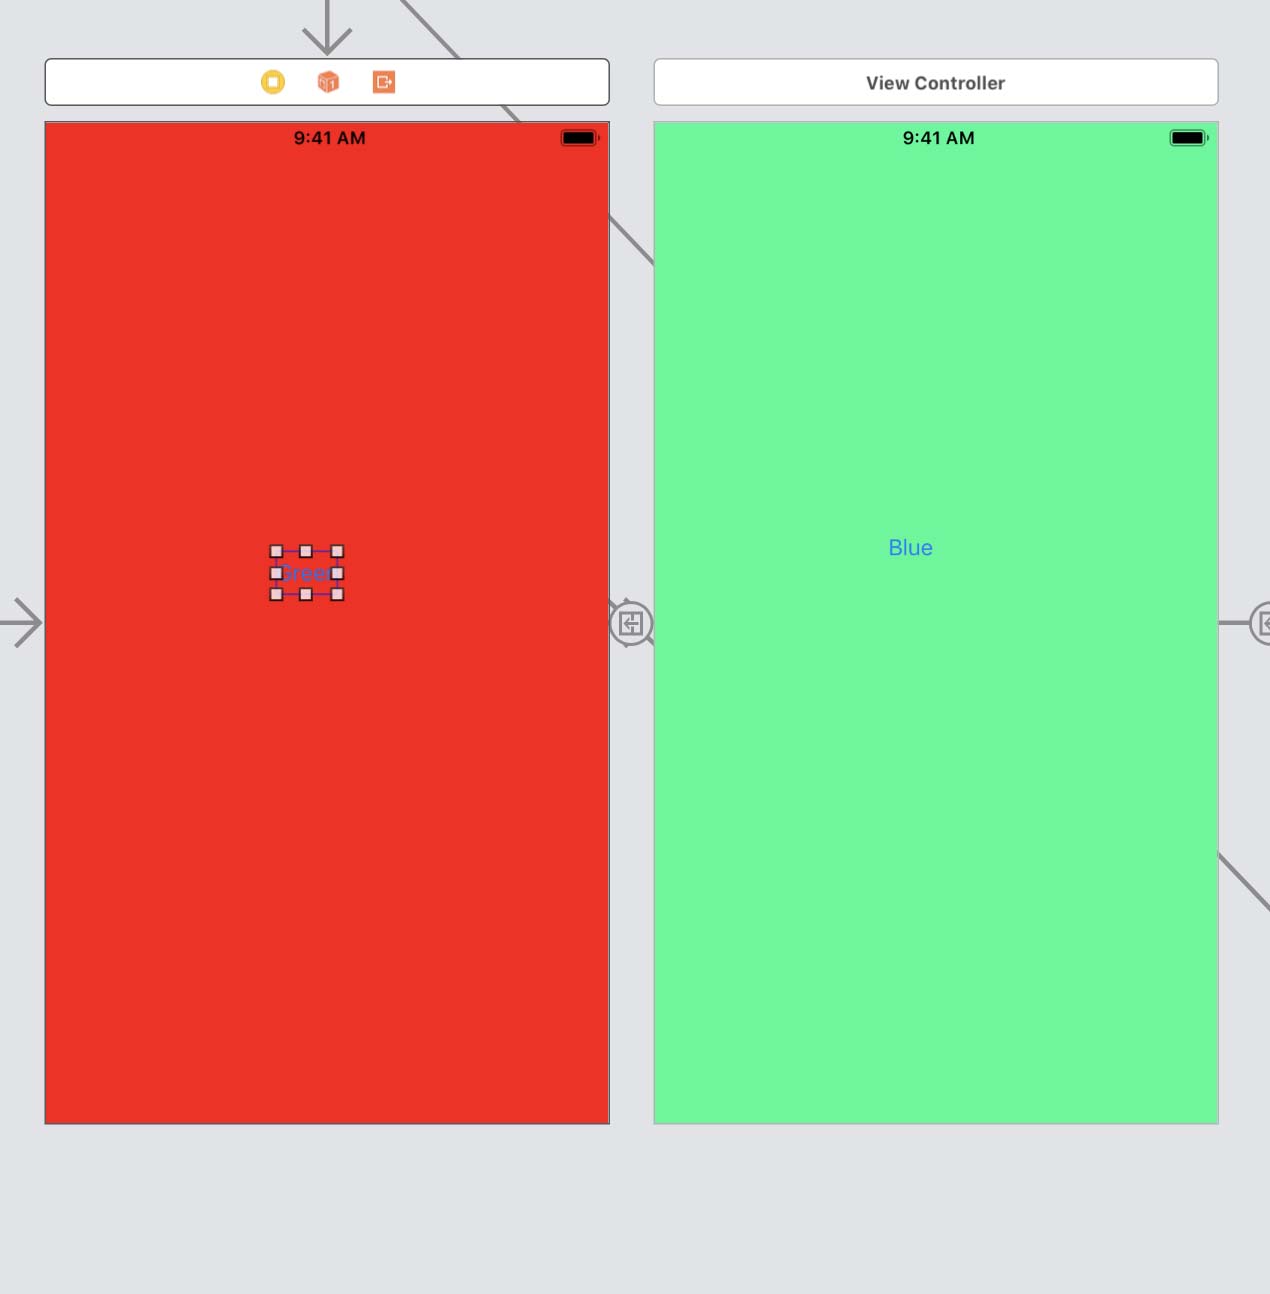
Drag one button to each scene. Create them so that they will connect you to the next scene (Red to Yellow, Yellow to Green, Green to Red). Drag from the button to the scene you want to connect it to. These are called Segues. Use the Show method for each segue.
Run your app and test it in the Simulator. With each ViewController button selected, you can control the general transition style in the Attributes Inspector. You can also change the Presentation option to Full Screen. Play with some of the transition types and rerun the app.
This is just a quick method for understanding navigation and switching scenes. As you get more experience with mobile development, you will add more content, navigation and functionality across scenes.
Embed Navigation Controller
We can also use a feature to provide back buttons to return to the main scene and create a dropdown menu in a main page. Let’s go back to the original scene that was created for the project.
Click the View Controller icon at the top of the scene and use the Inspector to check the “Is Initial View Controller” box (or move the arrow).
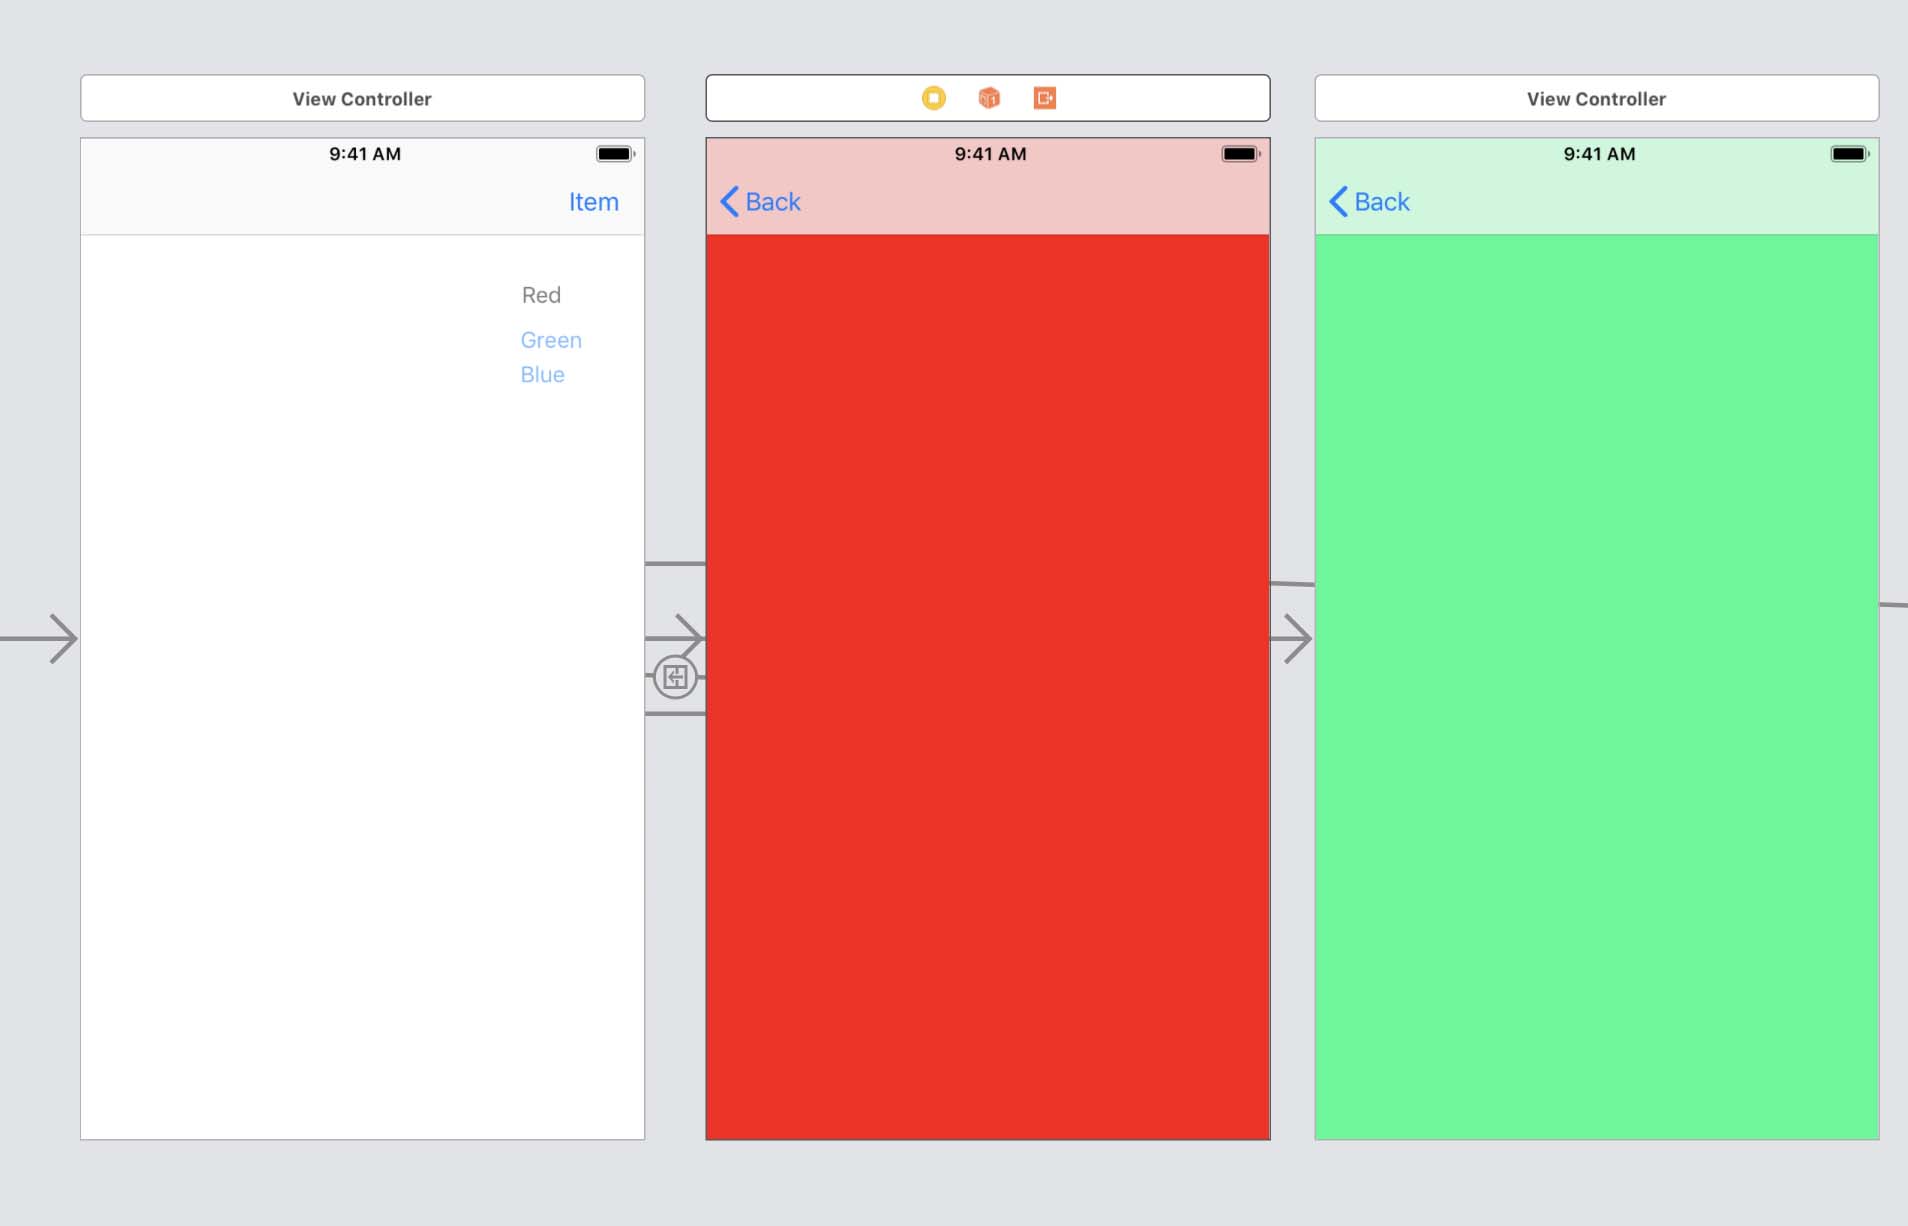
Drag the Red, Yellow, Green buttons to this main scene. Stack them in the top right corner, a few pixels down from the top.
With the main View Controller selected, in the top Xcode menu, choose Editor, Embed in, Navigation Controller. This will add a navigation bar to the top of the main View Controller. This provides basic navigation for the app, like back buttons.
Test the app to see how it works. Your buttons should go directly to each scene with a back button to take you to the main scene. You just created basic navigation through your scenes.
Advanced Navigation
But we usually don’t see the menu until we click it. We need to come up with a way to show and hide the menu items. Drag a Bar Button Item from the Library and place it in the top right of the nav bar in the main View Controller.
Find an icon for a Hamburger Menu. You can find one here: https://icons8.com/icon/set/hamburger/ios7. Download it. It should put it in the Downloads folder. Drag it with the Finder to the Assets folder as we did previously to add an image. Click the word "Item" and use the Utilities to change the image to the Hamburger Menu icon you added.
First, we’ll group the menu items into a View. Find a View in the Library. Drag that onto the new View Controller. Copy and paste the nav buttons into that View. Make sure they are in the View by moving it around. Position the elements within the View and then position the View toward the top right of the main View Controller. You will need to reconnect them to each scene. Test the app now, to make sure the navigation still works.
Select the menu button item (the hamburger icon). Ctrl-click and drag to the code. Make sure your View Controller code is showing (option click on ViewController in the Project Navigator). It will be an Action, with UIButtonBar type. Name it clickMenu.
Problem: If you can’t drag from the element to the code, click yellow button at top of storyboard. Make sure in the Identity Inspector, Custom Class is View Controller.
Select the View that has the menu items. Drag it to the Code, giving it the name navView to create an Outlet. Make it hidden in the Attributes Inspector.
Now that you have the outlet and the button set up, you can use the code to show and hide the menu on the click. Include the code to the right in your button method. This will tell it what to do depending on the status of the menu at the time when it is clicked.
Test the application and see the functionality. We probably want the nav to be hidden when we go back too, making the user click again to see it. Add the function to the right called viewWillDisappear to set the navView to be hidden when the view disappears.
There are lots more things you can do to set up navigation for an app, so this is just a basic example. But you are starting to understand the elements and coding associated with app navigation.
Moving On
Take your time with these techniques. We are moving into more complex apps using multiple scenes.